Workshop: Reading and writing HTML
In the first part of the workshop, you will practice reading HTML documents in the browser inspector pane, and analyzing how they were structured. Then you’ll mark up an HTML document of your own.
Setup
Create a repository using the same steps as in the markdown workshop. You only need one repository for both activities. The link to create the GitHub repository is in today’s tile on Moodle.
Create an empty file named
index.html.Publish the site with GitHub Pages so that you can check the output while you work.
Visualize an HTML document’s structure
Choose one of these web pages to analyze, using your browser’s inspector pane.
Read the webpage’s HTML in the inspector pane to understand how the document is structured.
Using pen and paper or a digital sketching app of your choice, draw a tree diagram of the webpage’s HTML. It doesn’t have to be fancy, but it should clearly show the semantic HTML tree of HTML elements.
NOTE
You can ignore
divs andspans that do not add meaning to the structure, and also feel free to skip repeated elements, like a lot ofps or a lot oflis all in a row: just record the first one and sayx12to give a sense of how many there are.Here is one example of how to draw a tree diagram, top-down. You could also lay it out it from left to right, or radially, with all the branches coming out from the center.
 Image: DOM tree, Lubaochuan, Wikimedia, CC BY SA 4.0.
Go back over your diagram and think about which elements are notable, and why. Put a letter beside noteworthy elements to categorize them, like this:
- S for semantic elements, or P for presentational elements
- A for use of attributes other than
class - B for default block display, or I for default inline display, or H for visually hidden by default
- L for landmark elements
- F for focusable elements
- N for new to me, or U for unusual, or Q for if you have a question
- Another letter of your choosing (make a footnote or key on your diagram explaining what it is)
Take a picture of your paper diagram, or export an image file of your digital diagram.
Upload your image to your GitHub repository, and then write some HTML in your
index.htmlfile that displays the image. Put a heading above the image, and put any explanatory text underneath it. Try to limit the width of the image with thewidthandheightattributes so that it displays properly for laptop screens. Extra kudos if you mark it up withfigureandcaption.
Mark up a text document as HTML
- Choose one of the below documents to mark up in HTML. Plain text files are provided alongside images of how they appear in print or rendered in the browser. (Note that your HTML won’t look similar without CSS, and that’s OK.)
Hierarchy of road users [document]

Hierarchy of road users The ‘hierarchy of road users’ is a concept that places
those road users most at risk in the event of a collision at the top of the
hierarchy. The hierarchy does not remove the need for everyone to behave
responsibly. The road users most likely to be injured in the event of a
collision are pedestrians, cyclists, horse riders and motorcyclists, with
children, older adults and disabled people being more at risk. The following H
rules clarify this concept. Rule H1 It is important that ALL road users are
aware of The Highway Code, are considerate to other road users and understand
their responsibility for the safety of others. Everyone suffers when road
collisions occur, whether they are physically injured or not. But those in
charge of vehicles that can cause the greatest harm in the event of a collision
bear the greatest responsibility to take care and reduce the danger they pose to
others. This principle applies most strongly to drivers of large goods and
passenger vehicles, vans/minibuses, cars/taxis and motorcycles. Cyclists, horse
riders and drivers of horse-drawn vehicles likewise have a responsibility to
reduce danger to pedestrians. None of this detracts from the responsibility of
ALL road users, including pedestrians, cyclists and horse riders, to have regard
for their own and other road users’ safety. Always remember that the people you
encounter may have impaired sight, hearing or mobility and that this may not be
obvious.
Crown copyright 2022
Storing your fruit and veg [document]
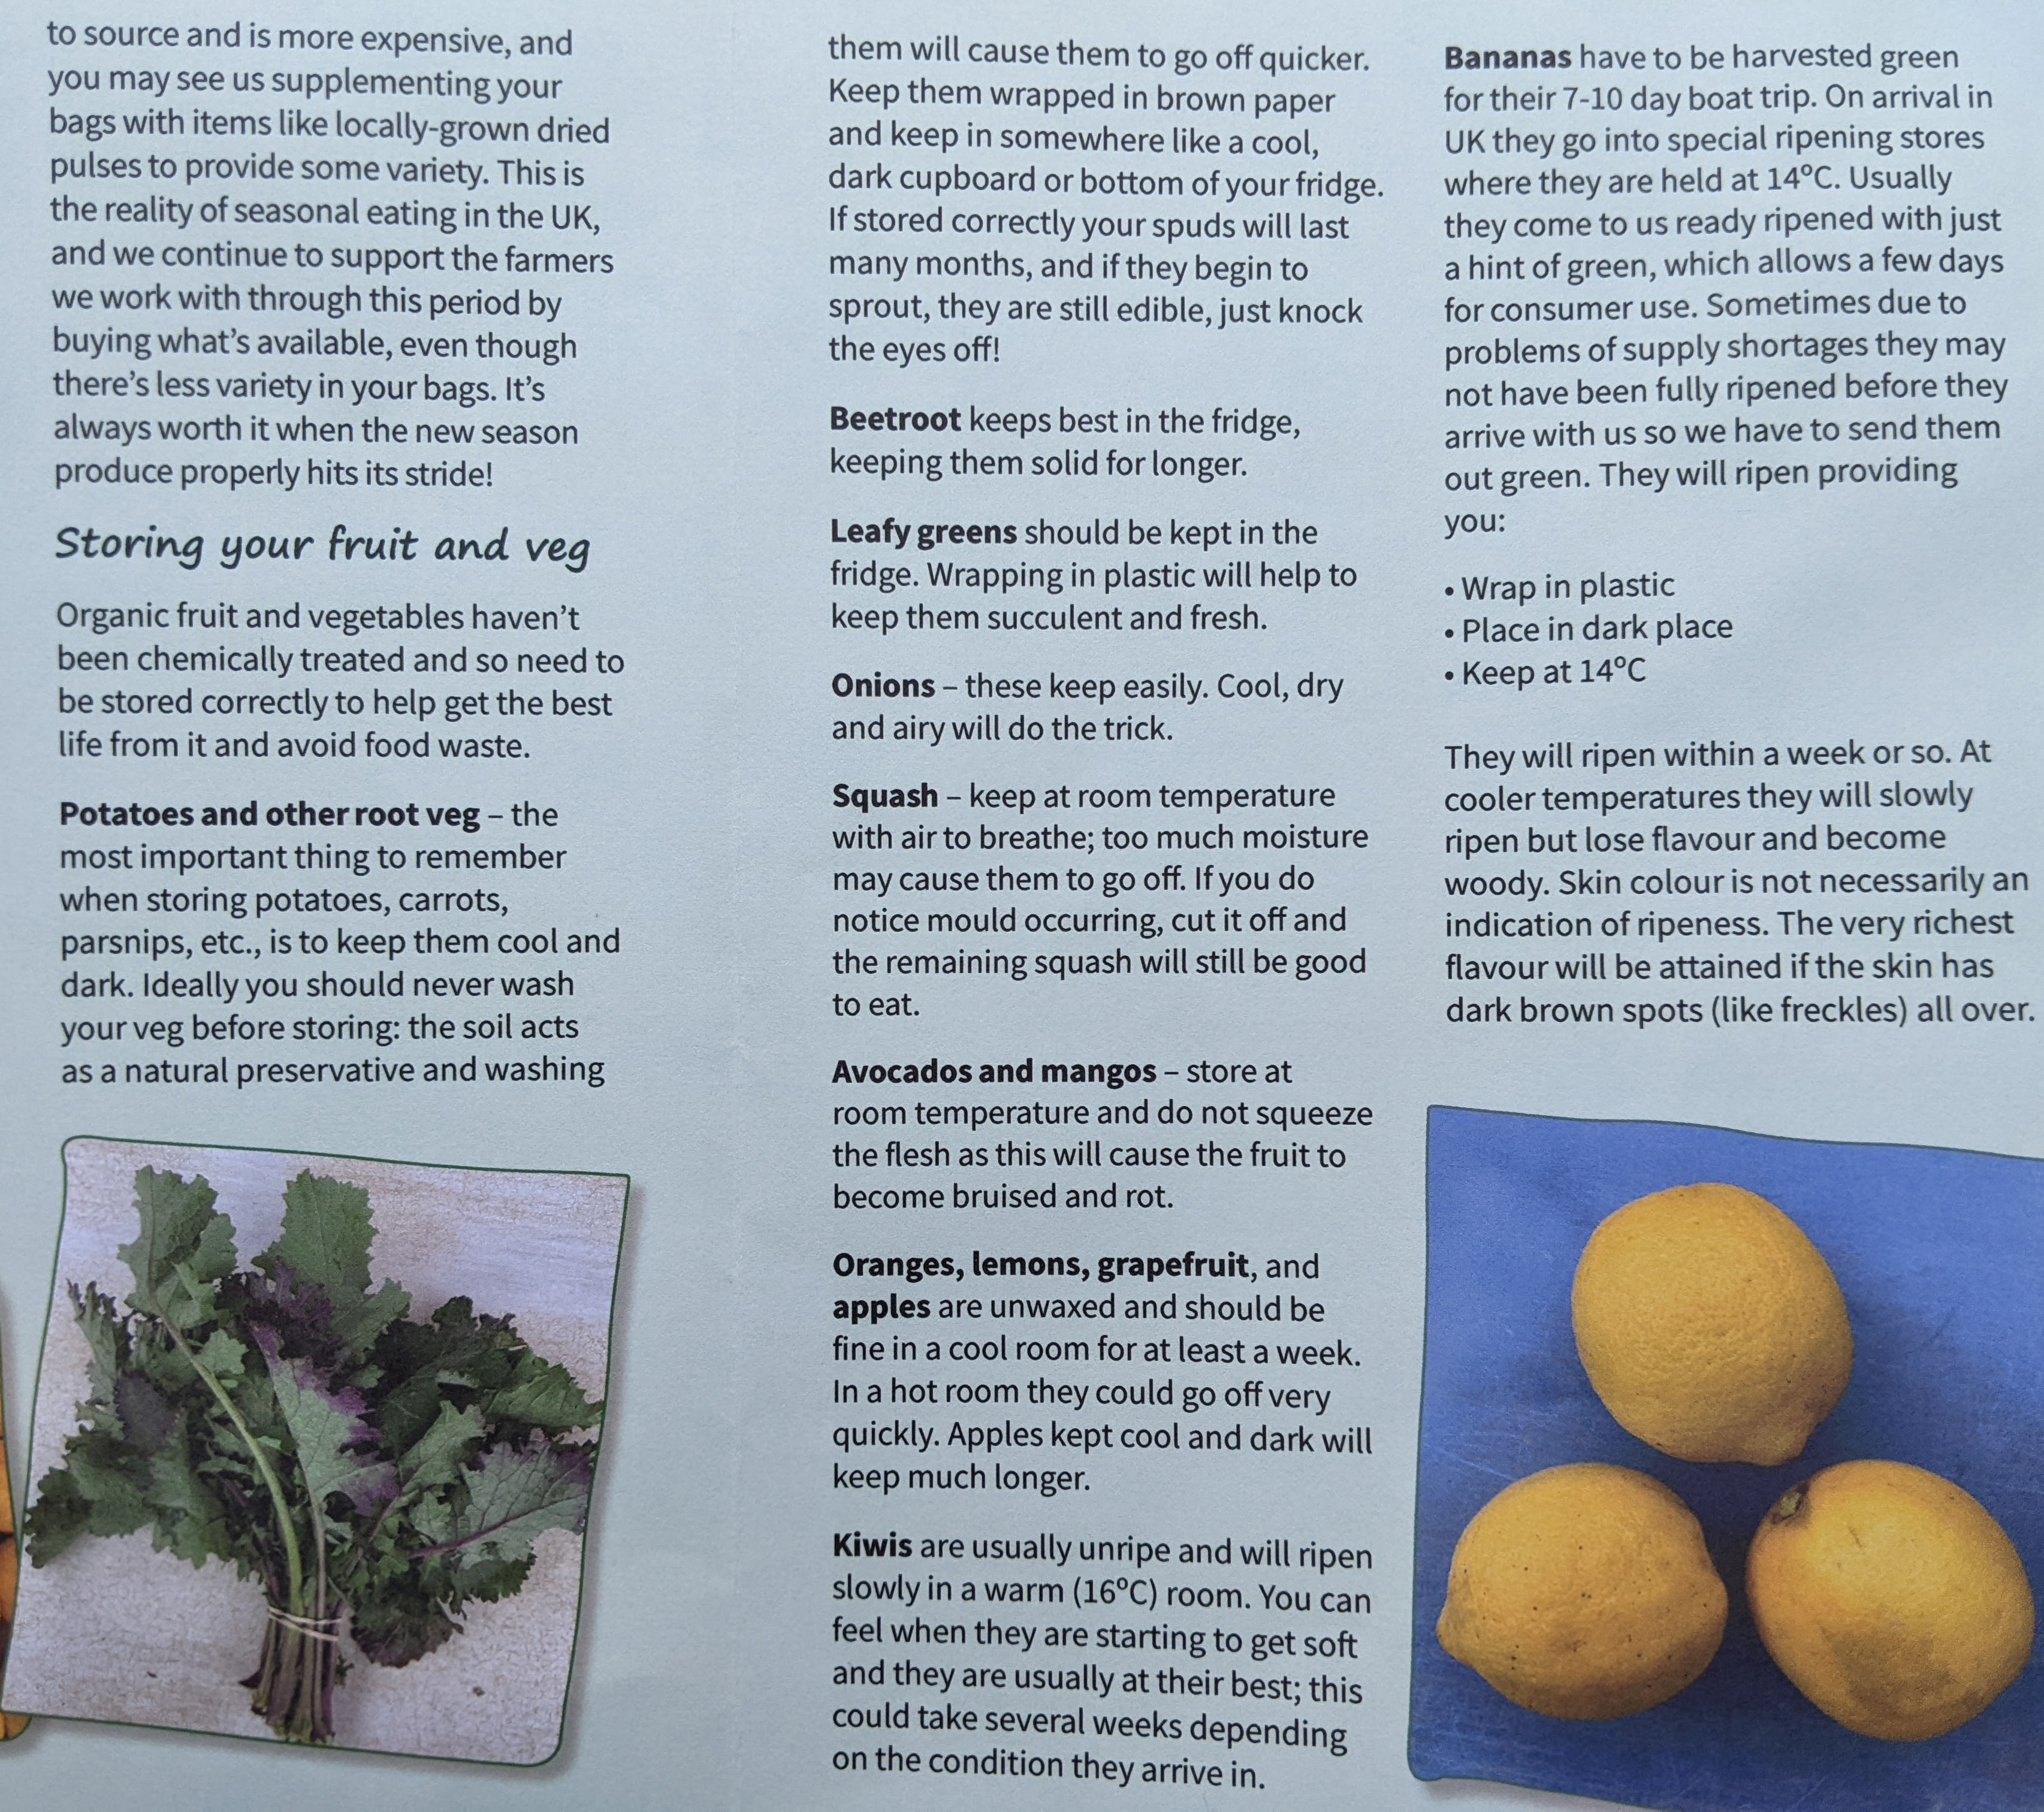
Storing your fruit and veg Organic fruit and vegetables haven't been chemically
treated and so need to be stored correctly to help get the best life from it
and avoid food waste. Potatoes and other root veg - the most important thing to
remember when storing potatoes, carrots, parsnips, etc., is to keep them cool
and dark. Ideally you should never wash your veg before storing: the soil acts
as a natural preservative and washing them will cause them to go off quicker.
Keep them wrapped in brown paper and keep in somewhere like a cool, dark
cupboard or bottom of your fridge. If stored correctly your spuds will last
many months, and if they begin to sprout, they are still edible, just knock the
eyes off! Beetroot keeps best in the fridge, keeping them solid for longer.
Leafy greens should be kept in the fridge. Wrapping in plastic will help to
keep them succulent and fresh. Onions - these keep easily. Cool, dry and airy
will do the trick. Squash - keep at room temperature with air to breathe; too
much moisture may cause them to go off. If you do notice mould occurring, cut
it off and the remaining squash will still be good to eat. Avocados and mangos
- store at room temperatrue and do not squeeze the flesh as this will cause the
fruit to become bruised and rot. Oranges, lemons, grapefruit, and apples are
unwaxed and should be fine in a cool room for at least a week. In a hot room
they could go off very quickly. Apples kept cool and dark will keep much
longer. Kiwis are usually unripe and will ripen slowly in a warm (16°) room.
You can feel when they are starting to get soft and they are usually at their
best; this could take several weeks depending on the condition they arrive in.
Bananas have to be harvested green for their 7-10 day boat trip. On arrival in
UK they go into special ripening stores where they are held at 14°C. Usually
they come to us ready ripened with just a hint of green, which allows a few
days for consumer use. Sometimes due to problems of supply shortages they may
not have been fully ripened before they arrive with us so we have to send them
out green. They will ripen providing you: Wrap in plastic Place in a dark place
Keep at 14°C They will ripen within a week or so. At cooler temperatures they
will slowly ripen but lose flavour and become woody. Skin colour is not
necessarily an indication of ripeness. The very richest flavour will be
attained if the skin has dark brown spots (like freckles) all over.
Copyright OrganicLea 2022
Mark up the document as HTML and save it in the root folder of the repository. Use a short name with keywords from the title, all lowercase, no spaces, just hyphens between words.
TIP
Want to check the rendering as you code? Try editing HTML in the browser inspector pane, then copy-pasting it to your file on GitHub to commit it.
Add another section and heading in your
index.htmlfile, and create a link to your marked-up document.
Requirements checklist
Here are the minimum requirements for credit when you turn this workshop in as homework.
- The site is published via GitHub Pages.
- When you go to the site URL, the
index.htmlpage loads, and it has the required elements in the right place, likehead,body, etc. - The
index.htmlpage body has two sections, one showing an image of the diagram you made, and the other providing a link to a separate HTML page about road users or fruit and veg. - The
index.htmlpage body makes proper use of headings (likeh1,h2) as well as thetitleelement. - The diagram is mainly accurate in depicting the markup structure of the chosen webpage.
- The elements in the diagram are categorized in at least a few ways, having been marked with letters
- The page with your HTML markup of a document (road users or fruit and veg) is marked up with sensible semantic elements
- The page with your HTML markup is indented properly and is reasonably error-free