Workshop: Writing Markdown

Dustin Curtis, CC0, via Wikimedia Commons
In this workshop, you will write a webpage about your goals for the course. You will use Markdown syntax to write the page, and finally you will publish your webpage privately on GitHub Pages.
Time estimate: 30 minutes
Getting set up
Create an account on GitHub and log in. Note that your Birkbeck email address must be tied to the GitHub account, either as the main email associated with the account or as a secondary one.
Create a GitHub repository that is associated with Birkbeck2 organization on GitHub. To do this, you need to go to Moodle and find today’s tile. Click on the special link there that says Create GitHub Repository.
Creating your content
Create a file in your new repository called
index.md. It has to be named like this for GitHub to recognize it as the default main page that should be loaded.Write some content! Your instructor would love to read answers to these questions, presented however you’d like (lists, tables, paragraphs, subheadings, links, images, etc.), so long as you use appropriate Markdown syntax.
- Tell me a bit about your current or recent job. What do you do for a living?
- Did anything happen in your job recently that relates to web development?
- Do you have any creative projects outside of your job that you are excited about?
- What kinds of jobs will you apply for after your MA degree or PG certificate?
- Is there anything else about you and your learning goals that you want me to know?
Make sure you included at least one image. Use one that shows some of your previous creative work, if you have it, or use one of Joe’s cats:
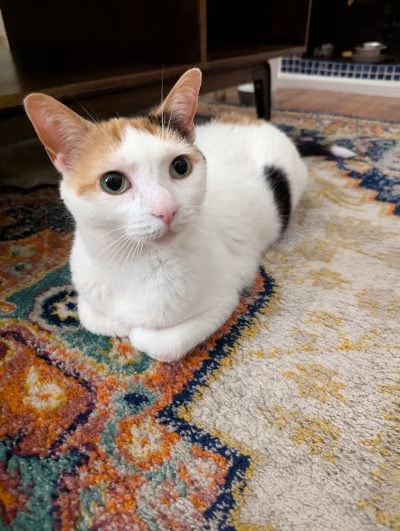 Matilda
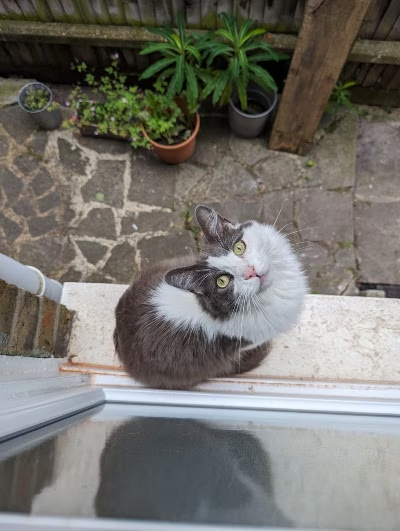 Iggy
IggyTIP
To include the image, upload it separately (try a new browser tab if you have unsaved edits in the text file), and then type out the filename in the parenthetical Markdown reference.
INFO
GitHub also lets you drag and drop the image into the text editor, which creates a
user-attachmentslink. But user attachments can’t be updated or edited manually and don’t belong to the version control of the repository, so it’s best to avoid relying on them when working in repositories.Use the Preview tab to check the output.
Save your work often and early by using the Commit button. When GitHub asks you for a commit message, this is a note to your future self, as part of Git’s version control features. When it asks about branches, you can just choose the
mainbranch.
Publishing and making fixes
Publish the repository as a website with GitHub Pages. The publishing source should be the
mainbranch. Leave the site’s visibility as Private for now.INFO
Not sure how? Here are resources for this step:
Configuring a publishing source for your GitHub Pages site, GitHub Pages, GitHub Docs.
Host your website on github for free in just 2 minutes, 2m 22s, Akriti Goswami, YouTube, 2023
Check out your rendered website at the URL provide by GitHub Pages. Is everything displaying as intended? If not, go back and make changes with more commits.
Requirements checklist
Here are the minimum requirements for credit when you turn this workshop in as homework.
- At least two heading levels
- At least one link
- At least one image with appropriate alt text
- At least one list
- Some other formatting like bold, italics, or strikethrough
- Saved to an
index.mdfile in the proper Git repository owned by theBirkbeck2organization - Published to GitHub Pages so that instructors can visit the generated link and view the rendered site
But by all means, don’t stop there if the creativity is flowing!